- Home
- I am a …
- Resources
- Collections
- Post-lockdown teaching support
- Remote teaching support
- Starters for ten
- Screen experiments
- Assessment for learning
- Microscale chemistry
- Faces of chemistry
- Classic chemistry experiments
- Nuffield practical collection
- Anecdotes for chemistry teachers
- More …
- Literacy in science teaching
- Climate change and sustainability
- Alchemy
- On this day in chemistry
- Global experiments
- PhET interactive simulations
- Chemistry vignettes
- Context and problem based learning
- Journal of the month
- Chemistry and art
- Classic chemistry demonstrations
- In search of solutions
- In search of more solutions
- Creative problem-solving in chemistry
- Solar spark
- Chemistry for non-specialists
- Health and safety in higher education
- Analytical chemistry introductions
- Exhibition chemistry
- Introductory maths for higher education
- Commercial skills for chemists
- Kitchen chemistry
- Journals how to guides
- Chemistry in health
- Chemistry in sport
- Chemistry in your cupboard
- Chocolate chemistry
- Adnoddau addysgu cemeg Cymraeg
- The chemistry of fireworks
- Festive chemistry
- Collections

- Education in Chemistry
- Teach Chemistry
- Events
- Teacher PD
- Enrichment
- Our work
- More from navigation items


Practical resources
Resources and inspiration for practical work and demonstrations. See our standard health and safety guidance.
Practical videos
Practical videos | 14–16 years
Videos of core practical experiments for flipped learning, remote teaching or revision
Practical videos | 16–18 years
Videos of key practical techniques and apparatus for revision, flipped learning or remote teaching
Simulations
Support practical chemistry with new ways to explore experimental work
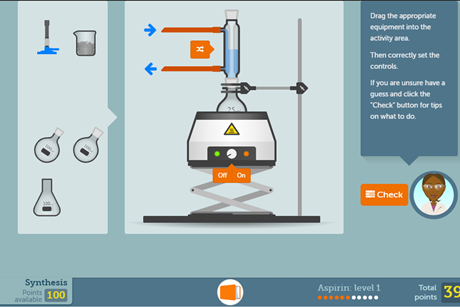
Aspirin screen experiment
Get students aged 16–18 running their own organic synthesis on a computer or tablet before taking part in the real thing. This resource also features an in-depth practical guide and a set of worksheets covering the theory.
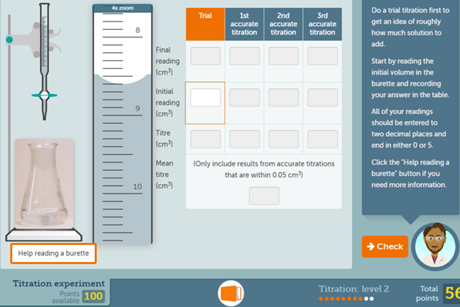
Titration screen experiment
Give students the opportunity to conduct their own titration experiment on a computer or tablet. This resource also includes a redox titration experiment.
Spectacular demonstrations
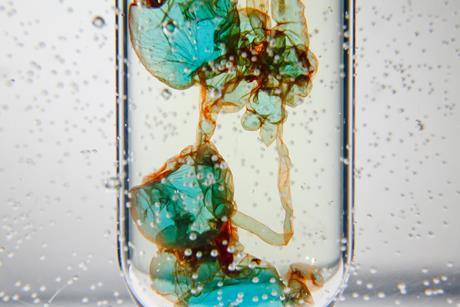
Demonstrate concentration and density with a transition metal colloid cell
Boost 11–14 learners’ understanding of diffusion and transition metal chemistry
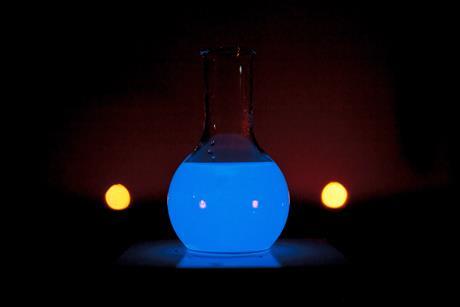
Highlight transition metal chemistry with an oscillating luminol reaction
Light up your 16–18 learners’ interest in catalysis and transition metal properties with this chemiluminescent reaction
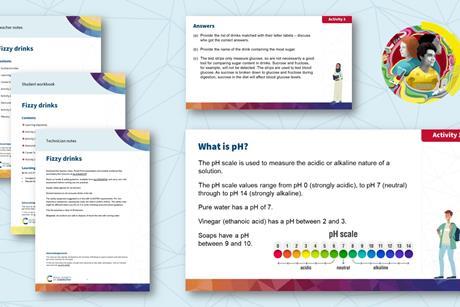
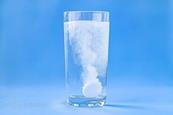
Investigating the sugar content and pH of fizzy drinks | 11–14 years
Compare fizzy drinks’ ingredients, acidities and health implications
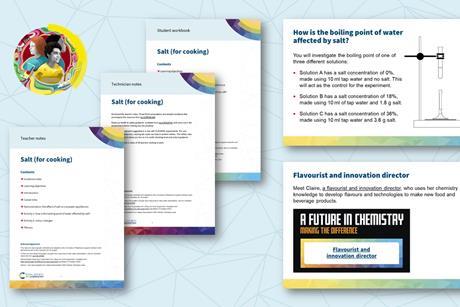
Salt (for cooking) activities | 11–14 years
Uncover the properties and health implications of salt in our diets
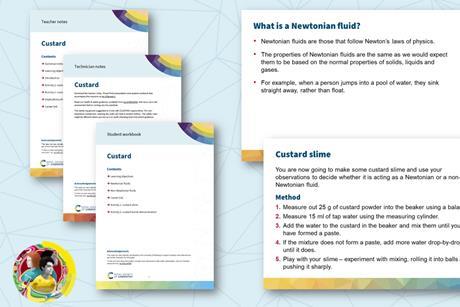
Custard experiment | 11–14 years
Introduce your learners to Newtonian and non-Newtonian fluids as well as the explosive nature of powders
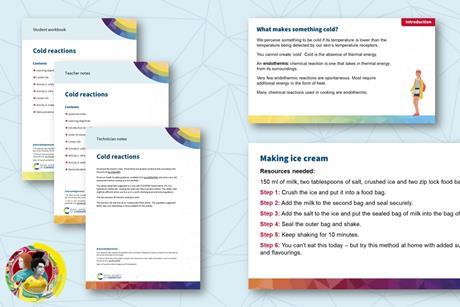
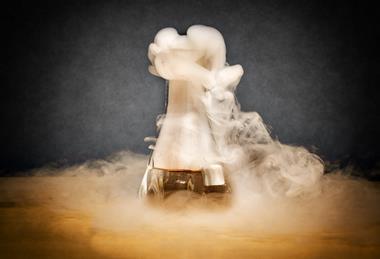
Investigating cold reactions | 11–14 years
Explore what is meant by ‘cold’ and the applications of endothermic reactions
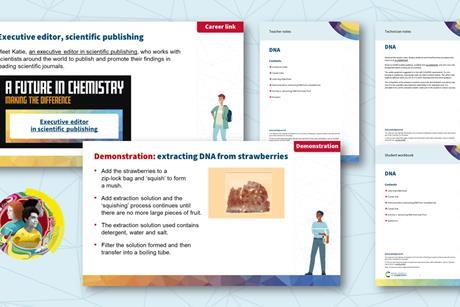
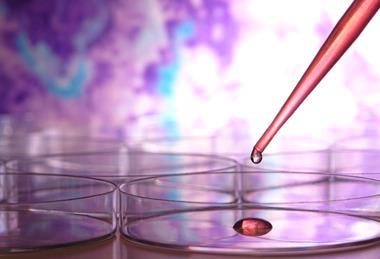
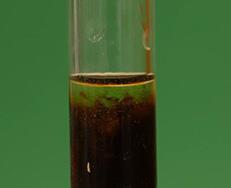
Extracting DNA experiment | 11–14 years
Remove and compare genetic material in different plant cells
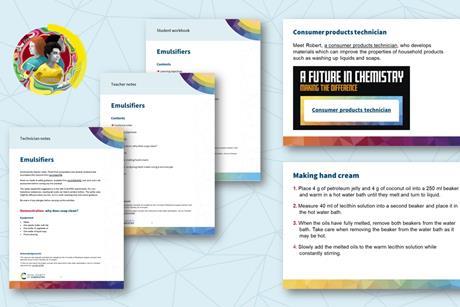
Emulsifiers in cleaning | 11–14 years
Investigate and explain what emulsions are and their applications in cleaning
Teach functional groups
To illustrate the differences in reactivity of isomeric alcohols, try using the iodoform demonstration in the video. Follow the discussion scenario in sequence for tips to help your students understand a difficult concept in carbon chemistry.
Engaging hands-on group activities, adaptable for all ages and fully resourced
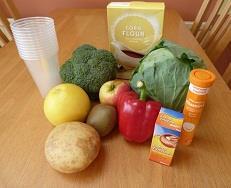

Measuring vitamin C in food
The art of crystallisation
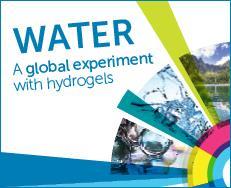
Water and hydrogels
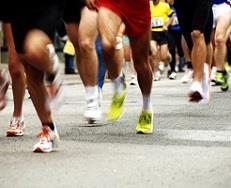
Chemistry in sport
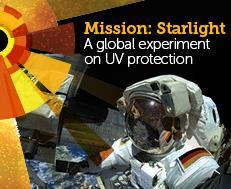
Mission starlight
- Previous
- Next
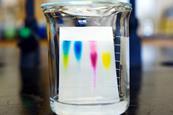
Chromatography challenge | 16–18 years
Explore analytical techniques and their applications with a chromatography investigation and research activity
Paracetamol book | Using thin-layer chromatography to investigate the reactions
In this activity you investigate the purity and identity of your laboratory prepared samples of nitrophenol or paracetamol using thin-layer chromatography
Paracetamol book | The reduction of a nitro group to an amine
Nitro group reduction into an amine is covered in this practical class experiment.
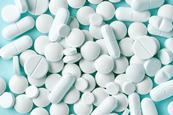
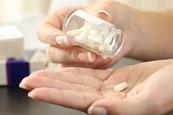
Paracetamol book | The quantitative analysis of various formulations of paracetamol
An experiment to show learners to analyse several different formulations of paracetamol and create and quantitative judgment of them.
Paracetamol book | The preparation of paracetamol
The first of three steps, in practical experiments, that show learners how to prepare paracetamol
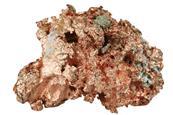
The extraction of copper: a microscale version
a microscale practical into the extraction of copper, where students can engage with the experiment and build on their practical chemistry skills.
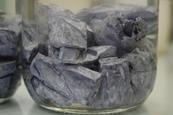
Heating Group 1 metals in air and in chlorine
Group 1 metals will react differently when heated in air and chlorine, and then reacted with water. Allow learners to discover more.
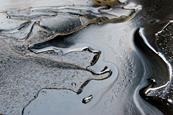
Cracking hydrocarbons | A microscale version
The oil industry needs to make smaller hydrocarbons, for higher profit. Conduct a microscale experiment to show learners how to perform this procedure.